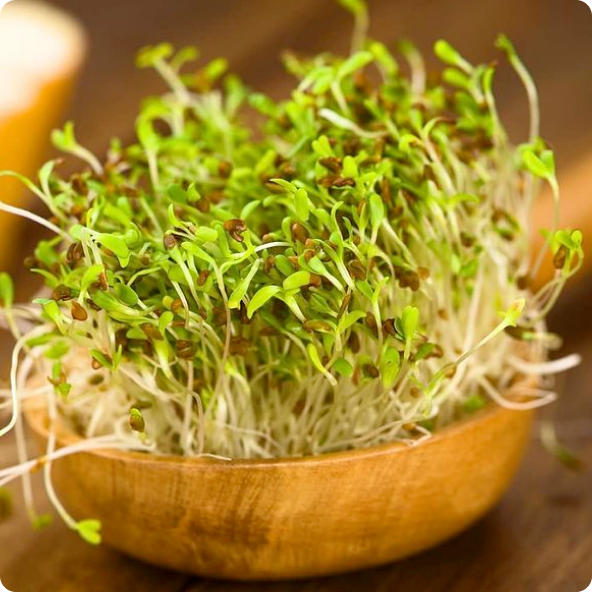
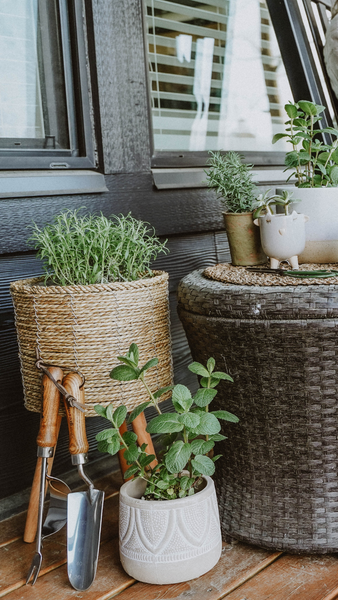
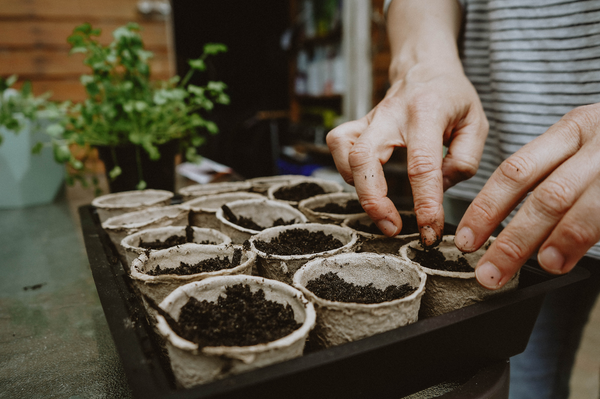
Follow the planting instructions for each variety of seeds. For instance, some seeds prefer to be sown on the surface of the soil, while others need to be covered. We recommend using sterilized seed starting soil in shallow trays that have drainage holes at the bottom. You could try growing microgreens in 12-cell plug inserts that have been inserted into seedling germination trays. You can also grow microgreens in recycled plastic containers or clamshell packaging, as long as you poke some drainage holes in the bottom. Using a seedling warmer will increase the speed of germination, but it is not strictly necessary.
Spread the sterilized soil to a depth of only 2-3 inches. You’ll be harvesting the baby seedlings, so they don’t need a lot of room to grow roots.
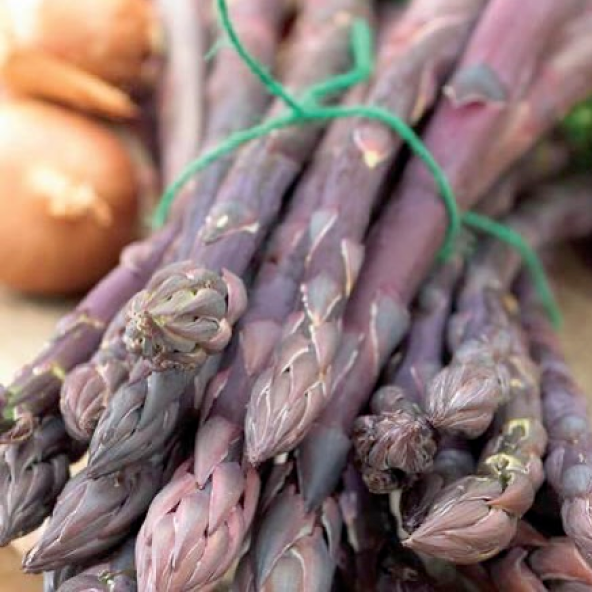
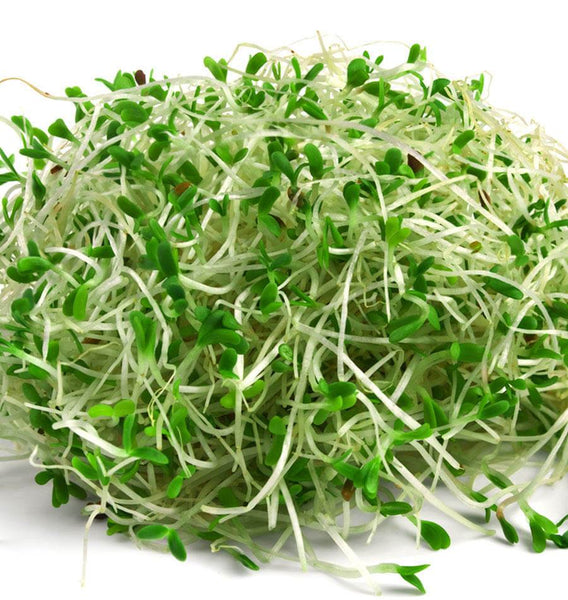
Sow microgreen seeds fairly densely, a little less dense for large seeds like sunflowers or Swiss chard. Once your microgreen seeds have been planted, mist the whole area. You want to keep the soil moist like a wrung out sponge, but not sitting in water. Keep your mist sprayer handy, and spritz the soil regularly. The nice thing about using seedling germination trays is that you can take a second tray and invert it over the planted tray. This traps moisture inside, and prevents rapid evaporation.