


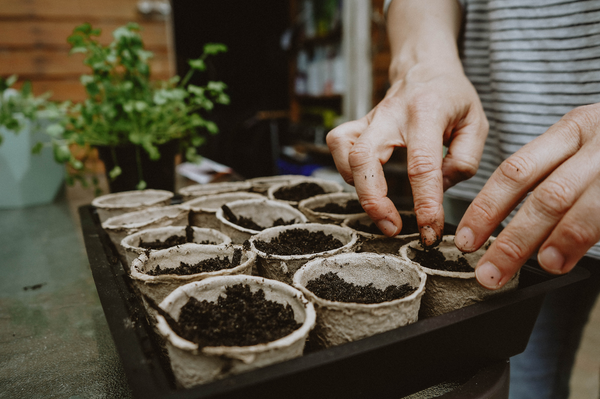


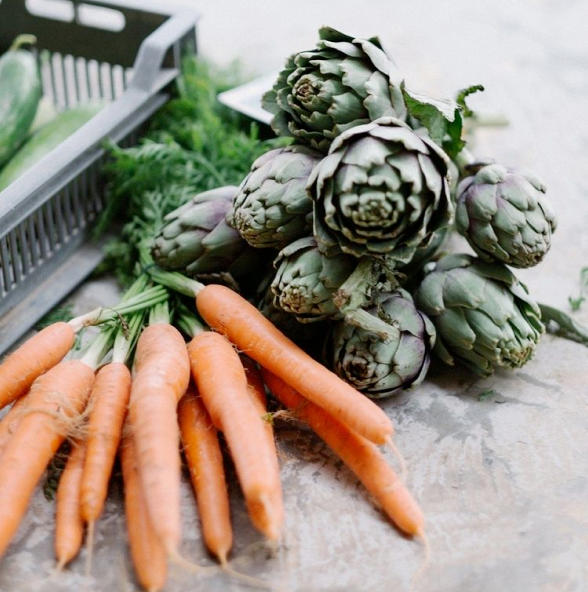
Whether you've harvested a bumper crop or picked a bunch of carrots from your local market, storing them properly means you can enjoy their crisp, earthy goodness well into the cooler months. Let's walk through the ins and outs of carrot storage, so you can keep them as fresh and nutritious as the day they were picked.
The crux of the matter when storing carrots is keeping them moist and cool. Thick-cored varieties are particularly suited for longer storage times, whether you're keeping them in the ground, in a root cellar, refrigerating, or freezing them.
Our Napoli Organic F1 is a sweet selection for your fall harvest, especially after a light frost. In milder winters, these carrots can be left in the ground for continual harvesting. The Yellowstone Organic offers a pop of colour and is sublime when roasted. For top-notch storage, consider Bolero F1, which keeps its crunch in the cellar or fridge for months on end.
Storing Carrots in the Refrigerator
To maintain freshness, store carrots in a cool, dry environment. Begin by removing the greens, which can draw moisture from the roots. Avoid washing the carrots immediately; instead, let them dry and cure slightly in an airy space. Once dry, seal them in zip-top bags and place in the crisper of your fridge. This method keeps most carrot varieties fresh for over 10 days with minimal nutrient loss.
For varieties like Bolero F1, which are excellent for extended storage, repeat the initial steps, then line a vegetable crisper with paper towels to absorb moisture. Regularly check and replace the paper towels to ensure the carrots stay dry, prolonging freshness for three months or more.
Storing Carrots in the Freezer
Carrots, like many veggies, have enzymes that start to affect their colour, texture, and nutrient content soon after being picked. Thankfully, we can nip this in the bud with blanching. This quick dip into steamy waters or a rolling boil followed by an ice-cold bath stops these enzymes dead in their tracks, locking in those fresh-from-the-garden qualities.
When it's time to freeze, whether you're handling petite baby carrots or larger ones cut into even chunks, they'll need a hot water plunge. For every pound of carrots, have a gallon of water at a rolling boil ready. After they've had their five-minute spa in the boiling water and the bubbles return, rescue them with a strainer or slotted spoon, and give them an invigorating plunge into ice water. This isn’t just a stop to the cooking—it's a full refresh, ensuring the texture remains top-notch. If your carrots are diced or julienned, they'll only need two minutes in the boiling water before their ice bath.
Once they're chill to the touch, spread them out for a thorough dry-off on a clean kitchen towel. Now, for the freeze: bigger pieces do well with tray-packing—spread them out, freeze, then bag them up. Smaller bits are perfect for dry-packing straight into a freezer bag. The key is to squeeze out as much air as you can before sealing. Remember to label your bags with the date and what's inside.
Follow these steps, and you'll have crisp, garden-fresh carrots ready for thawing and adding to your favourite dishes for eight to twelve whole months.
Storing Carrots in a Root Cellar
Root cellars are the unsung heroes of vegetable storage, providing a naturally cool and damp space where carrots and other root crops can be stored for months. This age-old method is akin to placing your vegetables in nature's own refrigerator, where they enter a state of restful hibernation, emerging as fresh as when they were first harvested.
In the absence of a traditional root cellar, a similar environment can be created in a garage, shed, or even a covered spot in your garden. These makeshift cellars can act as a sanctuary for your carrots, beets, parsnips, and other root vegetables. To replicate the ideal conditions, aim for a relative humidity of 90% to 95% and temperatures between 0.5 – 4.5°C (33 – 40°F). With this setup, your vegetables will maintain their garden-fresh taste and texture, ready for your culinary use throughout the winter.
Storing Carrots in Sand
Sand storage is another practical method, especially if the ideal root cellar conditions are met. In a crate or box, layer two inches of sand at the bottom, place a single layer of carrots, cover with another inch of sand, and repeat until the container is full. A bit of moisture on the top layer will help keep the sand and carrots from drying out, without adding excess humidity to the environment.
Important: When preparing carrots for storage in a root cellar or sand, it's best to leave them in as natural a state as possible. Trim the tops, but keep the fine roots and a bit of soil attached, which acts as a natural barrier and helps preserve the carrots throughout their storage.
As the days grow shorter and the air chills, take heart in knowing your carrot harvest will carry you through. With a little care and the right storage, those vibrant roots will remain a beacon of your garden's bounty. So, keep your spirits and spades high — thanks to your efforts, there'll be plenty of crunch to go around.