


Potatoes are important to the self-sufficient gardener and the gourmet gardener. Easy to grow, highly nutritious and there is a variety for every use in the kitchen. Kids of all ages love to grow potatoes. Some are for baking, some are for salads, some for French fries. You should try them all! Follow along with this handy How to Grow Potatoes Guide and grow food!
Latin
Solanum tuberosum
Family: Solanaceae
Difficulty
Easy
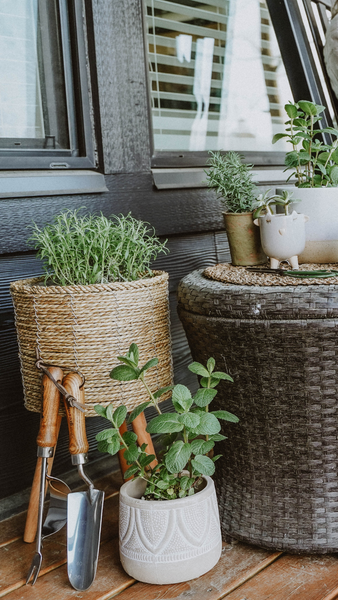
For Urban Gardeners: Reusable Potato Grow Bags (HG402) allow you to grow potatoes pretty much anywhere other than full shade. Grow some on your balcony or in your driveway!
Season & Zone
Season: Warm season
Exposure: Full-sun
Zone: 4 and up
Timing
Potatoes are tolerant of cool soils and moderate frosts. Minimum soil temperature at planting time should be 6°C (43°F). Plants will emerge about 2-3 weeks after planting.
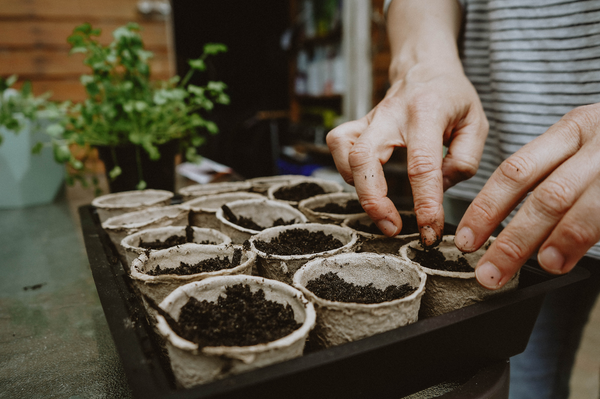
Starting
Set tubers approximately 7-10cm (3-4″) deep, and 30cm (12″) apart in prepared trenches spaced 60cm (24″) apart.
For Growers:
Approximate Seed Potatoes Needed by Area
Potato Spacing Chart
Growing
Ideal pH: 5.5-6.5. Well-drained, loamy soil rich in organic matter is preferred, but potatoes are not overly fussy. If heavy clay or clay/loam soils are used, double-digging and improving organic matter content by growing cover crops or adding compost or manure can correct drainage problems. Do not lime areas planned for potatoes. When the above-ground portion of the plant is 30cm (12″) tall, “hill up” soil 15cm (6″) around the plants. It’s okay to cover green leaves. Straw or grass mulch also works well. This process can be repeated up two or three times. It is recommended that no irrigation take place between planting and sprout emergence in order to avoid disease. It is important, though, not to let the soil become too dry, and to irrigate while plants are flowering.
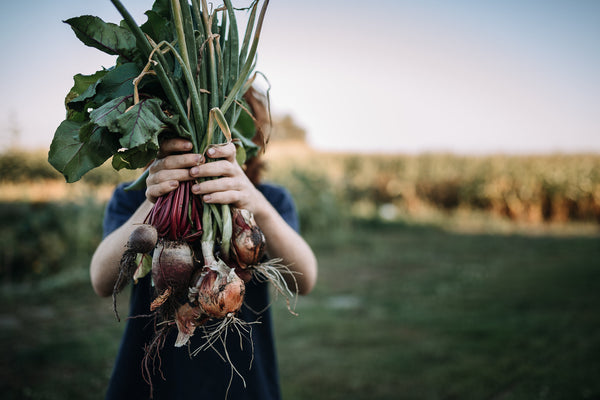
Harvest
“New” potatoes can be harvested about 7-8 weeks after planting. Potatoes grown for late summer and fall “fresh” use can be dug when tubers are full size or when foliage begins to die. For potatoes grown for storage and winter use, harvest should take place after vines have died back, alternatively, the plants may have to be cut or mown. After killing and removing the plants, tubers should stay in the ground for another 2 weeks to allow firming of their skins for storage. Optimum storage conditions are a dark location 4-7º C (40-45ºF) and 90% relative humidity. Paper sacks stored in a garage will suffice. Check them often though to remove any that are starting to go soft.
Diseases & Pests
Late blight (Phytophthora infestans) is problematic, especially on the Coast. Symptoms appear as water-soaked gray spots on tips and margins of leaves, leaf axils, and on stems. Even if nothing shows on the leaves, late blight makes black spots under the skin of the tuber. Left unchecked, it will destroy the plant. Copper spray is effective if applied regularly through the growing season, including drenching the soil. The most important step to avoiding disease is to establish a vigorous and healthy crop; this can be accomplished by using disease free seed, planting in rich soil, avoiding pre-emergence irrigation and watering carefully once the crop emerges.
The most common pests to bother your potatoes on the coast are wireworms (especially in gardens recently taken out of grass).
Wireworms are the larvae form of a very slender black beetle known as the Click Beetle because if you turn one over, when it goes to right itself, it makes a “Click!” sound. The beetle lays its eggs in grass, and the larvae eat in our gardens. They burrow into the roots, seeds, and underground stems of tomatoes, corn, potatoes, peppers, and squash. The damage is worse on land that has been recently been converted from lawn to garden. The larvae themselves are crisp, golden, up to 1cm long and can live for up to 7 years in the soil.
If your seeds don’t appear to sprout, or the plants wilt and die suddenly, your soil may have wireworms. An irregular pattern of plants dying in a field is typical of wireworm damage. To find out if you have wireworms before you start planting, create bait made of carrot and potato pieces. Bury the bait in 10cm of soil, and mark it with a stick. Dig it up in 3 or 4 days. If there are more than 1 or 2 wireworms per bait, you have a problem. They are difficult to control but regular cultivation of the top 10cm of the soil, as well as trapping them on pieces of potato, and crop rotation will slow the damage. Digging in an overwintered Cole crop can also be effective. Predatory nematodes work also.
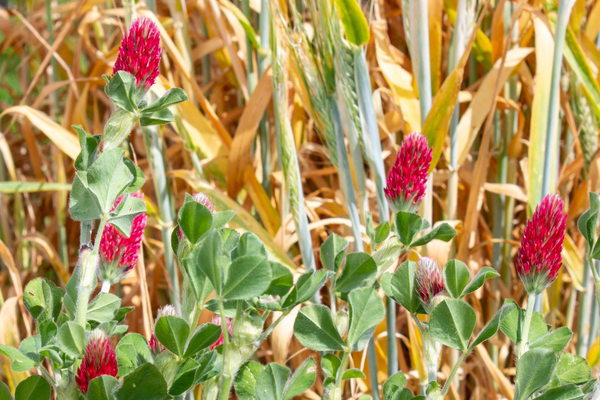
Companion Planting
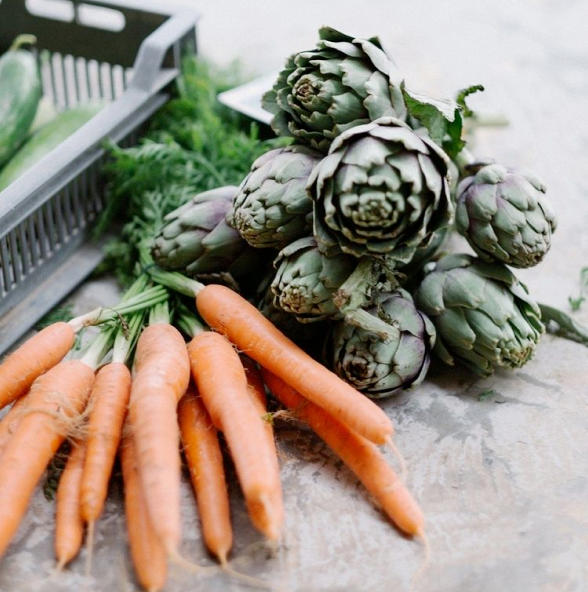
Bush beans, Brassicas, carrots, celery, corn, garlic, marigolds, onions, and peas all do well planted near potatoes. Avoid planting potatoes near asparagus, cucumber, kohlrabi, melons, parsnips, rutabaga, squash, sunflower, and turnips.
More on Companion Planting.