


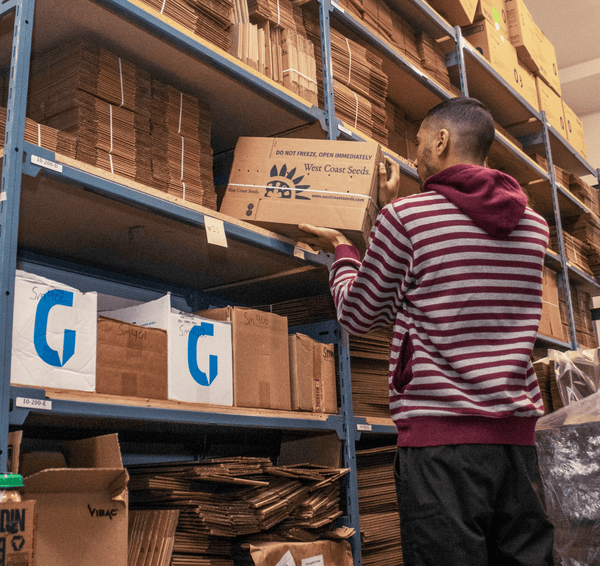


West Coast Seeds ships anywhere in North America. However, we are not able to ship garlic, potatoes, asparagus crowns, bulbs, onion sets, Mason bee cocoons, or nematodes outside of Canada. We regret, we cannot accept returns or damages for orders outside of Canada. The minimum shipping charge to the US is $9.99.


I’m always pleased with the seeds from West Coast. Quick delivery too.
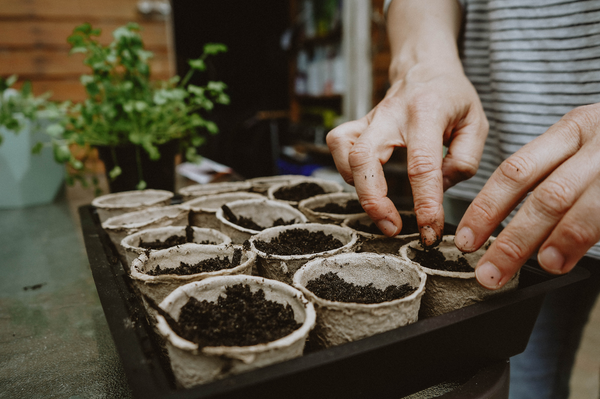
I can say, without a doubt, that this is the most consistently-germinated seed I've sown so far. I swear to god, the germination rate must've been 100%. Would highly recommend for a stable crop!
Started seeds last August and transplanted into ground late August and overwinter. Did absolutely nothing but sulked from October to March but really took off from April onwards. It's just about ready in the next couple of weeks. It is a beautiful plant. I am growing it again this year but started seeds earlier this year in mid July . Let's see if the extra day light hours will get the plant into better shape for overwintering and earlier harvest next year.