


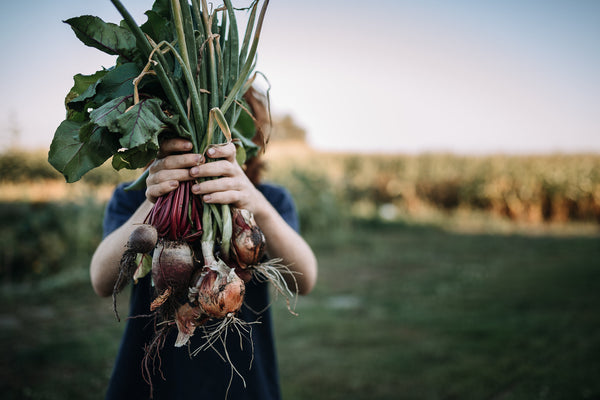


Whether you intend on planting potatoes in a garden trench, in containers, or even in your unused parking lot stall at work, your key to success is an understanding of how potato plants grow. The little spud that you plant (called a seed potato) is a tuber – part of the plant’s roots in which it stores energy for growth the following year. If you’ve ever left a potato out on your kitchen counter, you’ll know what eventually happens… The “eyes” of each potato sprout little growths called stolons. When these sprout below the soil, they grow vertically upward, and once they reach the surface they become the stem and leafy upper portion of the plant.

New tubers (more new potatoes) form along the length of each stolon, and at first they’re just tiny little bumps. As the above ground leaves of the plant take in energy from the sun, and the roots take up moisture and minerals, each new tuber begins to swell, beginning the energy storage process again to get the mature plant through winter. The greater the length of the stolon in the soil, the more tubers form along its length. The potato grower needs to maximize the amount of contact between the stolons and the soil, and there are a few different ways to make this happen.
The traditional farming method of planting potatoes is to dig a series of trenches about 6” deep. The seed potatoes are placed about 12” apart, very evenly down each trench. The tractor makes a second pass, and covers the potatoes with 3-4” of soil. Once the plants have emerged and are growing vigorously, the tractor makes another trip down the rows, hilling soil up, and covering the bottom of each plant with more soil. Unlike most other types of plants, piling soil up so that it covers the lower stem and lower leaves will not kill potatoes. It just encourages more root growth.
If you were planting in a container like the Potato Bag, you would add a shovel-full of soil to the bottom, lay down five or six seed potatoes, and then add about 6” of soil to cover them up. Once the plants are growing well, and have reached 12” above the soil surface, you would add a further 6” of soil, so that the plants are buried waist-deep. You can repeat this until the soil is level with the top of the potato bag. This creates a large vertical space in which more tubers can grow. Garbage cans also work well.
This principle is always the same. If you were to place a seed potato right on the bare ground and cover it with a 6” high pile of soil, it will sprout just fine. Keep adding soil (“hilling up” as it is known), and it will produce more potatoes for you. One of our customers described planting potatoes in his parking stall at the church where he volunteers. He laid down a couple of layers of cardboard from collapsed boxes, and then laid his seed potatoes on top. Over this he laid 12” of straw. Once the plants were a foot high, 6” more straw was added, and he repeated this process all spring, ending up with a pile of straw about 4 feet tall. Kept well watered, straw is just as good as soil for growing potatoes. At harvest time, the straw was just removed and used as mulch in his other garden, and it had already begun to break down. All of the potatoes were easy to find and harvest as the straw was removed.
Typically, you can count on harvesting ten times more potatoes by weight than you plant. Plant 1 kg of seed potatoes, and you should be able to harvest at least 10kg. With some conscientious hilling up, and in nicely fertile soil, you can expect as much as 15 times the weight planted. Consider using straw as your hilling up material, because it will keep the soil cooler and moister as the plants develop, and it makes a great addition to the compost heap at the end of the season.
Aside from hilling up, here are our top five tips for tip top potatoes:
1. Plant potatoes in full sun, and avoid freshly limed beds. Potatoes like slightly acid soil with a pH of 6.0 – 6.8. Organic matter in the soil will improve your crop, but use well rotted compost or dig in a cover crop the previous fall. Avoid fresh manure.
2. Once you plant your potatoes, don’t water them until after you see the plants sprout above ground. This will help to prevent soil diseases from affecting your crop. Once they’re growing, keep your potato plot evenly moist, particularly once the plants begin to bloom.
3. For fresh baby or “new” potatoes, wait until the plants are in bloom. That’s usually a good indication that an early summer harvest is ready.
4. For storage potatoes, wait until the plants wither and turn brown, and then leave them in the soil for a further 3 weeks as their skins firm up. Harvest them for storage if there’s a threat of very cold or very wet weather.
5. Store potatoes in a cold, dark place, above freezing, with good ventilation. You can brush soil off your harvested spuds, but don’t wash them – the extra moisture is not good for storage. Check your stored potatoes frequently throughout winter, and remove any that are turning soft or looking mouldy.
More on how to grow potatoes here.