Gustus

SKU: BS212
Early maturing with medium green, firm, button-like sprouts that are evenly spaced and well formed. Don't transplant until late April, and then harvest masses of tasty sprouts from late August through September. Read More

Exposure Full-sun

Matures in 100-120 days

Season Cool season

Seed type F1 ?

Gustus has a rating of 4.3 stars based on 3 reviews.
Click here for more options
Shipping & Returns

West Coast Seeds ships anywhere in North America. However, we are not able to ship garlic, potatoes, asparagus crowns, bulbs, onion sets, Mason bee cocoons, or nematodes outside of Canada. We regret, we cannot accept returns or damages for orders outside of Canada. The minimum shipping charge to the US is $9.99.

Gustus (replaces Oliver)

Product Details

Early maturing with medium green, firm, button-like sprouts that are evenly spaced and well formed. Don't transplant until late April, and then harvest masses of tasty sprouts from late August through September. Plant more seeds in June for transplanting in August. These will be ready for late fall and winter harvests, so you can be the one to bring Brussels sprouts to the holiday dinner parties. Avoid transplanting Brussels sprouts into high nitrogen soils. Gustus Brussels sprout seeds replace the much loved but now unavailable Oliver Brussels sprout seeds.

Matures in 100-120 days. (Hybrid seeds)

Quick Facts:

    • Evenly spaced and well formed
    • Medium green, firm, button-like sprouts
    • Hybrid seeds
    • Matures in 100-120 days

We'll notify you when this product is back in stock.


Gustus

We don't share your information with others.

Your notification has been registered.  Click to close!

All About Gustus

Latin

Latin
Brassica oleracea var. gemmifera
Family: Brassicaceae

Season & Zone

Season & Zone
Season: Cool season
Exposure: Full-sun

Timing

Timing
The goal is to harvest mature sprouts after they have been kissed by frost.Β Seeds can be direct sown any timeΒ once the daytime temperature is steadily above 10Β°C (50Β°F). Otherwise start the seeds in small pots or transplant beds andΒ transplant into the garden so the plants are in the ground for 45-60 days before the first hard frost. Optimal soil temperature for germination: 10-30Β°C (50-85Β°F). Seeds should germinate in 7-10 days.

Starting

Starting
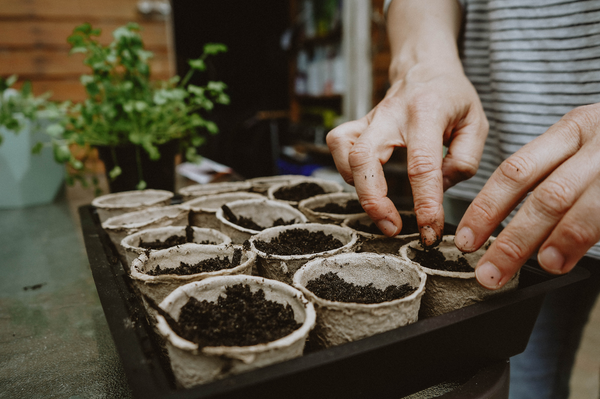
Sow 3-4 seeds per pot,Β 1cm (1/2”) deep, under very bright light. Thin to the strongest plant. Transplants should be set out when they have 6-8 true leaves. Space transplants 45-60cm (18-24β€³) apart in rows 75-90cm (30-36β€³) apart.

Growing

Growing
Ideal pH: 6.0-7.5. Plant in humus-rich soil amended with composted manure. Mix ΒΌ cup complete organic fertilizer into the soil under each transplant. High nitrogen levels result in loose sprouts with internal browning, so do not fertilize after midsummer. Cool temperatures during sprout development are important for compact, quality sprouts.

Days to Maturity

Days to Maturity
From transplant date.

Harvest

Harvest
Sprouts are sweeter after moderate freezes. Pick when sprouts are firm and well-formed, beginning with the ones at the bottom. The upper sprouts continue to form and enlarge as the bottom ones are harvested. For a once over harvest, to ensure you have enough for your holiday meal, pinch out the growing point at the top of the stem when the lower sprouts are 1-2 cm (Β½-¾”) in diameter. A full stem of evenly sized sprouts will develop in about 2 weeks.

After harvesting the sprouts, there may be another harvest in early spring where winters are mild. The plant sends up long, edible flower stalks which are tender and sweet when steamed, or served raw with a dip.

Seed Info

Seed Info
In optimum conditions at least 80% of seeds will sprout. Usual seed life: 3 years. Per 100β€² row: 170 seeds, per acre: 30M seeds.

Diseases & Pests

Diseases & Pests
Slugs and snails – Slugs are attracted to beer, so place a little beer in a cup dug into the ground. Sprinkle broken eggshells around plants to deter slugs and snails.
Cabbage aphids – A hard stream of water can be used to remove aphids from plants. Wash off with water as needed early in the day. Check for evidence of natural enemies such as grey-brown or bloated parasitized aphids and the presence of larvae of lady beetles and lacewings.
Cabbage root maggot – White maggot larvae feed on roots of plants. Damage causes wilting early on, and the death of plants later on.
Flea Beetles – Use row covers to help protect plants from early damage. Put in place at planting and remove before temperatures get too hot in midsummer. Control weeds. Nematodes feed on the larvae of these pests.
Cutworms – Control weeds. Cardboard collars around each plant give good protection.
Cabbageworms – Hand-pick and destroy. Row covers may be useful on small plantings to help protect plants from early damage. Put in place at planting and remove before temperatures get too hot in midsummer.

Clubroot: If soil is infested, add lime to raise pH of soil to 7.2. Locate plants in a part of the garden different from previous year’s location. If that is not possible, remove infested soil and replace with fresh soil. Start seeds in sterile potting mix or fresh ground. Remove and discard or destroy infested plants along with the surrounding soil and soil clinging to roots.
Companion Planting

Companion Planting
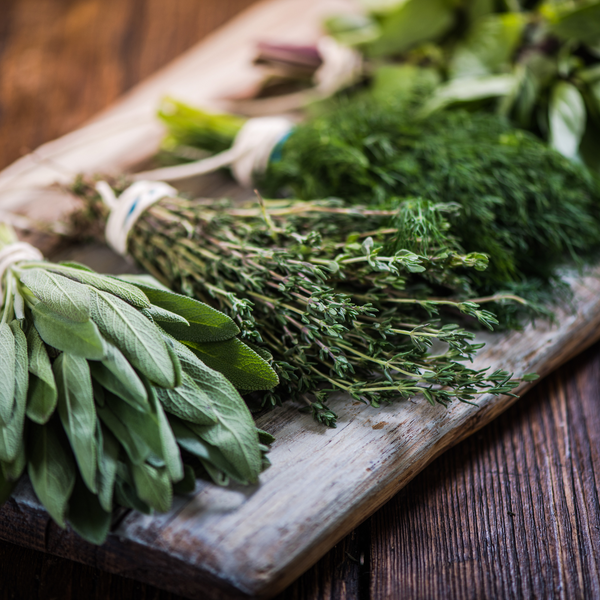
All Brassicas benefit from chamomile, dill, mint, rosemary, and sage. Avoid planting near eggplants, peppers, potatoes, or tomatoes.

More on Companion Planting.

How to Grow Brussel Sprouts

Step 1

Timing

The goal is to harvest mature sprouts after they have been kissed by frost.Β Seeds can be directly sown any timeΒ once the daytime temperature is steadily above 10Β°C (50Β°F). Otherwise, start the seeds in small pots or transplant beds andΒ transplant into the garden so the plants are in the ground for 45-60 days before the first hard frost.

Optimal soil temperature for germination: 10-30Β°C (50-85Β°F). Seeds should germinate in 7-10 days.

Step 2

Starting

Sow 3-4 seeds per pot,Β 1cm (1/2”) deep, under very bright light. Thin to the strongest plant. Transplants should be set out when they have 6-8 true leaves. Space transplants 45-60cm (18-24β€³) apart in rows 75-90cm (30-36β€³) apart.

Step 3

Growing

Ideal pH: 6.0-7.5.

Plant in humus-rich soil amended with composted manure. Mix ΒΌ cup complete organic fertilizer into the soil under each transplant. High nitrogen levels result in loose sprouts with internal browning, so do not fertilize after midsummer. Cool temperatures during sprout development are important for compact, quality sprouts.

Step 4

Germination

Days to maturity: From transplant date.

In optimum conditions at least 80% of seeds will sprout. Usual seed life: 3 years. Per 100β€² row: 170 seeds, per acre: 30M seeds.

Step 5

Harvest

Sprouts are sweeter after moderate freezes. Pick when sprouts are firm and well-formed, beginning with the ones at the bottom. The upper sprouts continue to form and enlarge as the bottom ones are harvested. For a once-over harvest, to ensure you have enough for your holiday meal, pinch out the growing point at the top of the stem when the lower sprouts are 1-2 cm (Β½-¾”) in diameter. A full stem of evenly sized sprouts will develop in about 2 weeks.

After harvesting the sprouts, there may be another harvest in early spring where winters are mild. The plant sends up long, edible flower stalks which are tender and sweet when steamed, or served raw with a dip.

Tips

Diseases & Pests

Slugs and snails – Sprinkle broken eggshells around plants to deter.

Cabbage aphids – A hard stream of water can be used to remove aphids from plants early in the day.

Cabbage root maggot – White maggot larvae feed on roots of plants. Damage causes wilting early on, and the death of plants later on.

Flea Beetles – Use row covers to help protect plants from early damage. Put in place at planting and remove before temperatures get too hot in midsummer. Control weeds. Nematodes feed on the larvae of these pests.


Cutworms – Control weeds. Cardboard collars around each plant give good protection.


Cabbageworms – Hand-pick and destroy. Row covers may be useful on small plantings to help protect plants from early damage.

Clubroot: If soil is infested, add lime to raise pH of soil to 7.2. Locate plants in a part of the garden different from previous year’s location. If that is not possible, remove infested soil and replace with fresh soil. Start seeds in sterile potting mix or fresh ground. Remove and discard or destroy infested plants along with the surrounding soil and soil clinging to roots.
Companion Planting

All Brassicas benefit from chamomile, dill, mint, rosemary, and sage. Avoid planting near eggplants, peppers, potatoes, or tomatoes.

Customer Reviews & Questions