Dried flowers are a nostalgia reserved for grandmas and great aunts: those dusty bouquets adorned with dusty fabric butterflies in dusty, painted wicker urns, positioned on top of pianos and among porcelain figurines and the finest of never-used, always-admired china, and with the slightest of breezes would shed and shatter. Flowers fully preserved in our memories if nothing else.
Here at
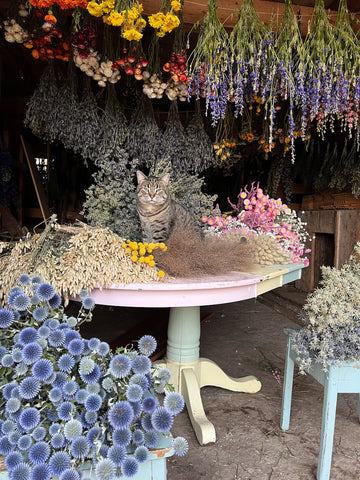
Lady’s Hat Farm, we argue that dried flowers are building for a comeback now in a time when sustainability, if not beauty, dictates something different. Something different but something that still preserves our need to view and touch and witness mother nature even in the starkest and coldest of months.
Living in a Zone 3 climate, where winter is always coming, staying and rarely going, and summer blooms for 3, maybe 4 months, and we’re forced to find the ephemeral beauty of flowers in the cargo cabins of airplanes, cellophane, and chemical alterations, dried flowers are the reasonable and regenerative alternative. And not only are they the reasonable and regenerative alternative, when played with right, they are truly spectacular.
These are not your grandma’s dried flowers.
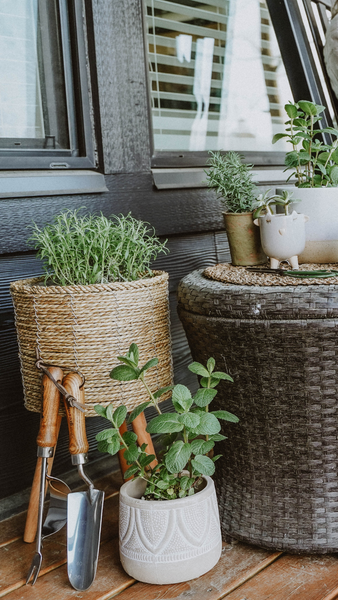
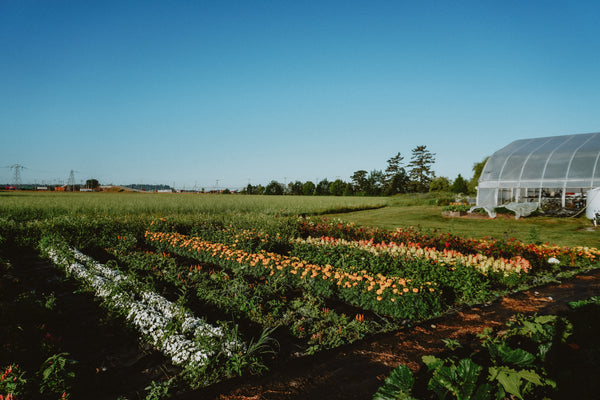
Growing
At our cut flower farm in Central Alberta, we keep about one acre of garden in production, with one-quarter of that acre dedicated to flowers specifically used for drying. However, there are many other varieties in my main production gardens that also dry well.
Every variety of flower has unique growing requirements: is it started early and transplanted out or is it direct seeded? Does it require lots of water or does it prefer dry heat? Does it need to be deadheaded to produce blooms? The answers to all of these questions, and more, are usually available through the seed company you purchase your flowers from, or are just a quick Google search away.
To help you get started in your quest to dry more flowers, we’ve compiled a list of our favourite flowers you can purchase through West Coast Seeds (and a few others you may have to hunt for!), sorted by their purpose – are they a focal, filler/green/sparkler, or an odds and pods? Each category is explained further, and the flowers can quite often move between roles, depending on the aesthetic you are creating.
Although the lists below just scratch the surface of what can potentially be dried and used, these are all flowers easily grown in a Zone 3+ climate and by a home gardener. The best way to learn which other flowers dry well, and which ones don’t? Experiment at home!
FOCALS
The absolute stars of the wreath/arrangement, the ones that stand out in a mass of other dried fluff, are your Focals or Show Stoppers. These are typically larger, more colourful flowers, or have a unique texture that make the wreath or arrangement seem alive – despite being 100 per cent dead, dead, dead.
|
COMMON NAME
|
LATIN NAME
|
Zone 3 ANNUAL/PERENNIAL
|
|
Billy Ball
|
Craspedia globosa
|
Annual
|
|
Dahlia
|
Dahlia variabilis
|
Annual (Tuber must be stored over winter in Zone 3)
|
|
Globe Amaranth
|
Gomphrena globosa
|
Annual
|
|
Globe Thistle
|
Echinops sphaerocephalus
|
Perennial
|
|
Paper Daisy
|
Rhodanthe chlorocephala
|
Annual
|
|
Lisianthus
|
Eustoma grandiflorum
|
Annual
|
|
Marigold
|
Tagetes erecta
|
Annual
|
|
Peony
|
Paeonia
|
Perennial
|
|
Persian Buttercup
|
Ranunculus asiaticus
|
Annual (Corm must be stored over winter in Zone 3)
|
|
Strawflower
|
Xerochrysum bracteatum
|
Annual
|
|
Sunflowers
|
Helianthus annuus
|
Annual
|
FILLERS/GREENS
Your fillers are the carbs. Your potatoes. Your rice. Fluffers, or fillers, or greens, are what will give your arrangement and wreath body; what will make them juicy and full.
|
COMMON NAME
|
LATIN NAME
|
Zone 3 ANNUAL/PERENNIAL
|
|
Amaranth
|
Amaranthus cruentus
|
Annual
|
|
Aster
|
Callistephus chinensis
|
Annual
|
|
Broom Corn Millet
|
Pennisetum glaucum
|
Annual
|
|
Clary Sage
|
Salvia sclarea
|
Annual
|
|
Delphinium
|
Delphinium elatum
|
Perennial
|
|
Dusty Miller
|
Jacobaea maritima
|
Annual
|
|
Eucalyptus
|
Eucalyptus cinerea
|
Annual
|
|
Flossflower
|
Ageratum houstonianum
|
Annual
|
|
Goldenrod
|
Solidago canadensis
|
Perennial
|
|
Honeywort
|
Cerinthe major purpurascens
|
Annual
|
|
Hydrangea
|
Hydrangea macrophylla
|
Perennial
|
|
Larkspur
|
Consolida ajacis
|
Annual
|
|
Orach
|
Atriplex hortensis
|
Annual
|
|
Statice
|
Limonium sinuatum
|
Annual
|
|
Sweet Annie
|
Artemisia annua
|
Annual
|
|
Yarrow
|
Achillea millefolium
|
Perennial
|
SPARKLERS/FILLERS
The sparklers are also a filler, but they act more like a veil – they create depth, without overtaking the showstoppers in texture, colour or interest. They lay over top of the meatier fillers and as they’re typically branching, allow you to layer the focals into the nooks and crannies to support their heads.
|
COMMON NAME
|
LATIN NAME
|
Zone 3 ANNUAL/PERENNIAL
|
|
Allium
|
Allium giganteum
|
Perennial
|
|
Blushing Lanterns
|
Silene Vulgaris
|
Perennial
|
|
Cloud Grass
|
Agrostis nebulosa
|
Annual
|
|
Covent Garden Baby’s Breath
|
Gypsophila elegans
|
Annual
|
|
Cress
|
Lepidium sativum
|
Annual
|
|
Feverfew
|
Tanacetum parthenium
|
Annual/Tender Perennial
|
|
Frosted Explosion Grass
|
Panicum elegans
|
Annual
|
|
Pussy Willow
|
Salix discolor
|
Perennial
|
|
Sea Holly
|
Eryngium planum
|
Perennial
|
|
Saponaria (seed head)
|
Vaccaria hispanica
|
Annual
|
|
Verbena
|
Verbena bonariensis
|
Perennial
|
|
Winged Everlasting
|
Ammobium alatum
|
Annual
|
ODDS & PODS
What category to put these in? They are, essentially, additional textural elements that neither make you go “wow,” nor add anything practical but interest (which for creatives, is practical). They’re the seed heads, fluffy or delicate, whispy, the grasses that are too bulky to be considered a “sparkler,” but too devoid of colour to be a focal.
|
COMMON NAME
|
LATIN NAME
|
Zone 3 ANNUAL/PERENNIAL
|
|
Love in a Mist
|
Nigella damascena
|
Annual
|
|
Pincushions (pods)
|
Scabiosa atropurpurea
|
Annual
|
|
Poppy (pods)
|
Papaver somniferum
|
Annual
|
|
Paper Moon scabiosa
|
Scabiosa stellata
|
Annual
|
|
Bunny Tail Grass
|
Lagurus ovatus
|
Annual
|
|
Wheat
|
Triticum aestivum
|
Annual
|
|
Canary Grass
|
Phalaris brachystachys
|
Annual
|
|
Feather Top Grass
|
Pennisetum villosum
|
Annual
|
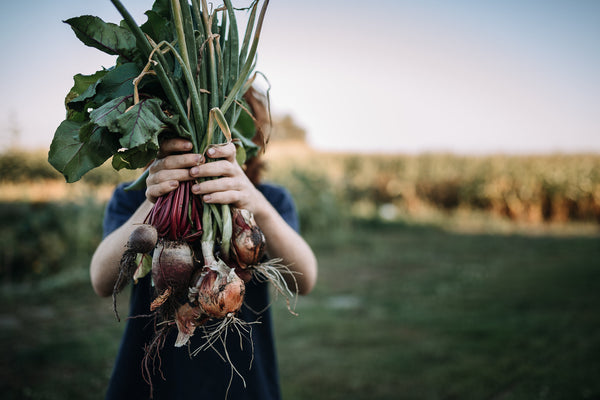
Harvesting
Drying flowers, besides peonies, typically begin blooming mid to late July in a Zone 3 climate. Unlike harvesting for fresh use – which typically dictates harvesting before the flower has opened – you want to harvest dried flowers in their prime. This, again, takes trial and error. Personally, we like to harvest peonies blown open, just before they drop petals. Same with flowers like solidago, delphinium, larkspur… we want most of the blooms on the stem to be open, although you may lose some of the petals or blooms during the drying process.
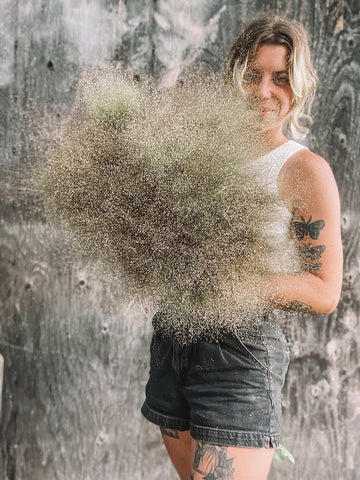
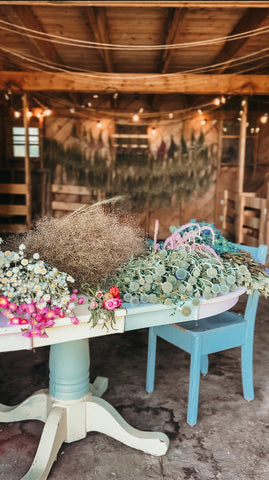
When we harvest for dried, we’ll bundle 10-20 of the same colour and variety with an elastic band and place immediately in water to prevent them from wilting. Keep as long of a stem as you can, as you may want to use the flowers for other projects and not just wreaths which don’t require a long stem. The beauty in drying, however, is that we can use the flowers we deadhead (pinch to encourage growth and branching), and dry them specifically for use in wreaths!
Drying
There are many ways to preserve flowers – pressing them between pages of books, covering them with silica beads (or even cat litter!) – but our go-to is simply hanging them upside down and letting time do the work. While the silica does preserve them almost perfectly, it requires a lot of beads to allow for a stem, and is less cost and space effective than hanging.
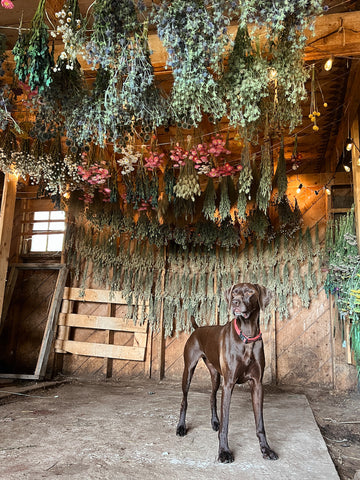
When hanging flowers to dry, you want the space to be dark, drafty and warm. If you want the flowers to have a more “bleached out” appearance, you can hang them in a sunny area. The cooler the space, the longer they’ll take to dry. We typically hang most of my flowers in the barn, on strings of twine, where they stay for 2-3 weeks. The fleshier flowers (dahlias and peonies, for example) will need more time. You can tell that they’re ready to take down for storage if the stems don’t flop when held up straight.
In recent seasons, we tried something different for my sunflowers. Instead of hanging them upside down, we built frames with chicken wire, and placed the sunflowers, stem first, through the holes so that they would dry flat. It worked incredibly well, and I recommend it to all florists/crafters wanting to dry sunflowers!
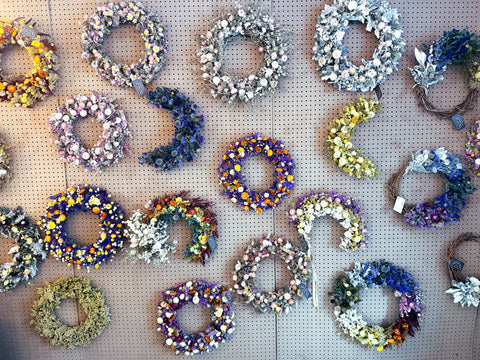
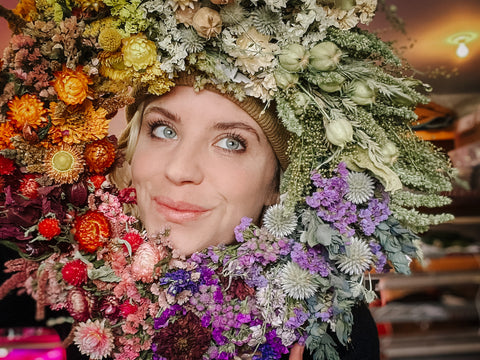
Creating
Finally! The good part! Creating something beautiful after months of work: seeding, planting, harvesting, drying and storing. There is so much fun art to be made with dried flowers, whether that’s wreaths, forever bouquets, mobiles, crowns, jewellery… the list goes on. We have found success in building wreaths over arrangements, and have fallen in love with the creative process of picking a palette, and the methodical routine of wiring it all together. Check out some of our past
wreaths, here.
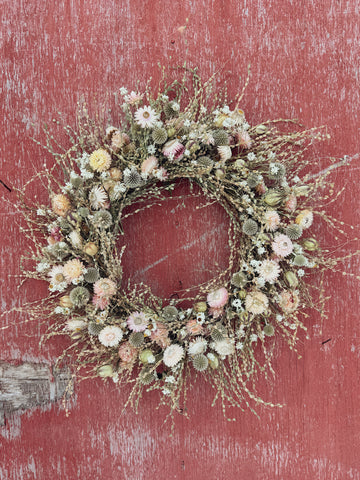
Throughout the summer, we make hundreds of natural wreath bases using Virginia Creeper – a common vine in our area. You can also use willow, red twig dogwood, grape vine, hops, or just baler wire. We aim to make our bases 8-10 inches in diameter to end up with a 16-inch wreath, which we find is a practical size for someone’s door or indoor decor.
Now, it’s time to pick the flowers! Think about the colour palette – what’s the purpose of the wreath? Is it spring? Fall? Is it for a baby’s room? Pick your focals first – you’ll want two or three – and then your sparklers – one or two should be enough! You’ll want one or two fillers and a pod or two if you have them. We use anywhere between five and 10 varieties of flowers in each wreath, however, you can make some spectacular art with just one! (Check out the wreaths we’ve made using only solidago or only statice or only cloud grass on our
Instagram account!)
You’ll need your shears for the wreath, but you’ll also need 24 or 26 gauge florist wire. Create a little bundle (almost like a mini bouquet) with your fillers on the bottom, your sparklers next, and then your focals on the top. The stems should be two to three inches in length. Wire around the base of your bundle and twist the wire together, place it on your wreath base and wrap the wire around the base. Never cut your wire! By keeping it intact the whole way through, you’ll create tension, and therefore a stronger wreath.
Add one or two flowers at a time, layering and wiring, layering and wiring. It’ll take a bit of practice, but it’ll become comfortable as you go. If you plan on making a partial wreath, with some of the base showing, think about which section of the base is “prettiest” or most interesting, and ensure that will be the area showing when you finish off your wreath.
Finishing your wreath is easily the most difficult part of building – and will only become easier the more you play! You’ll want to lift your initial bundle, gently, and continue adding flowers and wiring them in under that initial bundle until everything looks symmetrical. Cut your wire and tuck/twist it into another wire at the bottom of the wreath. Once it’s kinked, it won’t be going anywhere.
If you’re really struggling to finish off your wreath, as a last resort you can use a little hot glue. We typically avoid using hot glue unless absolutely necessary as the strings can often get wrapped up in the dried flowers and pieces will break off when we pick them out. Or, throw in a pretty ribbon!
PRO TIP! As the fall/winter goes on, your flowers will become dry and brittle, making them a lot harder to use for wreaths. Place them in a humid area (we use our walk-in cooler!) overnight, and they’ll be much easier to use.
Find more dried flowers inspiration, photos, videos and FAQs on my social profiles @ladys.hat.farm