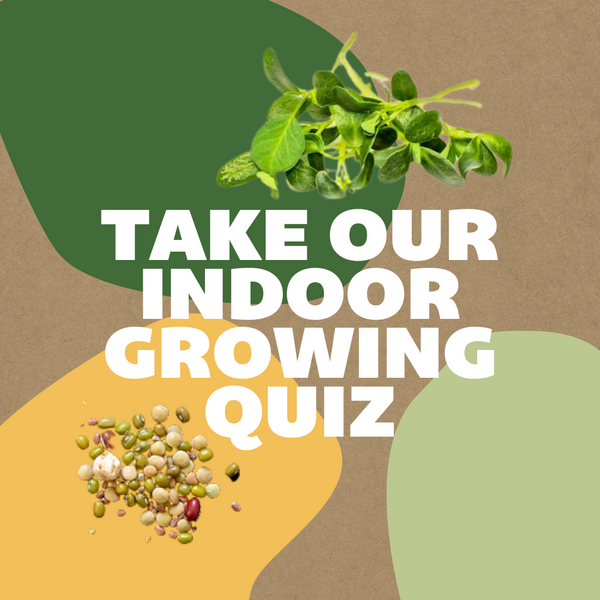
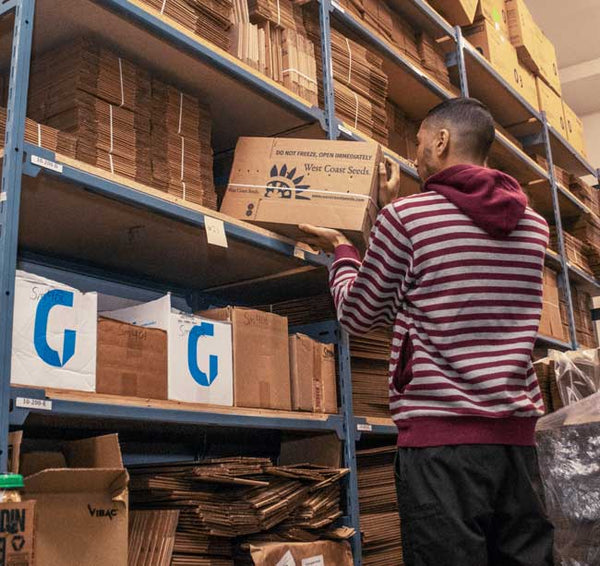
Iris Paprikash 1pk

SKU: BU874 $7.99

This variety of Siberian Iris is a show stopper with it's burst of gold that accents a crisp, coppery petal. These charming... Read More

Click here for more options
*Please note, this product cannot be shipped to the USA.
See our FAQs for more info.
New for 2024 Cut Flowers
Shipping & Returns

West Coast Seeds ships anywhere in North America. However, we are not able to ship garlic, potatoes, asparagus crowns, bulbs, onion sets, Mason bee cocoons, or nematodes outside of Canada. We regret, we cannot accept returns or damages for orders outside of Canada. The minimum shipping charge to the US is $9.99.

Iris Paprikash 1pk

Product Details

This variety of Siberian Iris is a show stopper with it's burst of gold that accents a crisp, coppery petal. These charming perennials are an excellent variety to spice up your garden and make superb cut flowers to brighten up your home. It is best that they are planted with full sun exposure, 18-24 inches apart and 3 inches deep between March and May. They are ideal for mixed borders, are deer resistant and welcome pollinators such as bees and butterflies. This summer flower grows to 20 inches and blooms May to June. They thrive in zones 3 through 9 and flower in early May to late June. Please keep in mind that these flowers are toxic to cats, dogs and horses.

Quick Facts:

    • Best in full sun
    • Thrives in zones 3–9
    • Toxic to pets

We'll notify you when this product is back in stock.


Iris Paprikash 1pk

We don't share your information with others.

Your notification has been registered.  Click to close!

All About Iris Paprikash 1pk

Starting

Starting
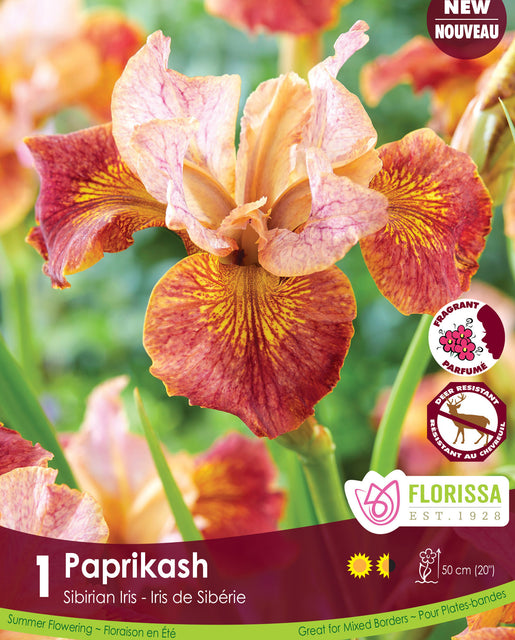
Follow the directions on each package as you unpack your bulbs. The depth depends on what type of bulb it is, and how large the plants are expected to be. In a very general sense, bulbs are planted with the pointed end up about 15cm (6″) deep. Be sure to follow the instructions on your individual bulb package.

Bulbs benefit from potassium-rich bone meal at planting time. They will probably produce flowers without bone meal, but a couple of tablespoons full buried with each bulb will produce stronger plants.

If you have some Complete Organic 4-4-4 Fertilizer, that will also help bulbs grow into strong flowering plants. It is sound advice to label or mark out where your fall bulbs are planted so you can remember not to dig there in the spring. Once growth starts in the spring and leaves begin to emerge, you have the option of top dressing (scattering on the surface of the soil) with a Complete Organic Fertilizer. This is a particularly good step if you plan on leaving the bulbs in the ground for the long term.

If you plan on lifting the bulbs after they have bloomed, spring fertilizing is not really necessary.

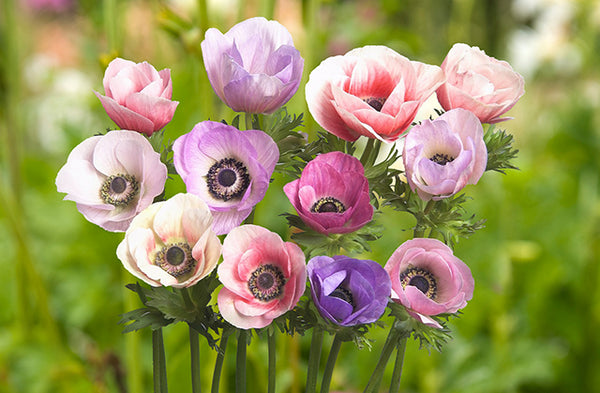
Once your spring tulips and daffodils have accomplished their task of bringing colour and joy to your spring, you should decide whether to lift them or not. Each plant would prefer to be left in place and send up leaves with which to gather more energy in the bulb for next spring. Most varieties will also begin to form new bulbs beneath the soil. But as the leaves become spent during the summer, they can be unattractive. So either remove spent leaves and leave the bulbs in place, or gently lift the bulbs and transplant them somewhere out of sight.

To lift bulbs, use a garden fork to gently loosen the soil. Your soil may have become quite packed down over winter, so take care when lifting. Try to dig down to the bulb itself, rather than pulling it up by its tender stem. The stem will tell you where each bulb is, so it’s important not to break the stem from the bulb.

After their foliage dies back, bulbs go dormant in preparation for winter. At this stage they can be lifted and labeled (by type or colour) and stored in paper bags for transplanting or giving away. Just like with garlic and onions, allow some time for your harvested bulbs to dry out by leaving them out in a cool, airy place out of direct sunlight. Brush off as much soil as possible, but do not peel away the layers that surround each bulb.

How to Grow Spring Planting Bulbs

Step 1

Timing

Spring planting bulbs should be sunk into the ground in March and April. They tend to bloom later in the spring, into mid-summer.

Step 2

Starting

Spring planting bulbs do not require cold soil to trigger flowering. The depth to plant depends on what type of bulb it is, and how large the plants are expected to be. Be sure to follow the instructions on your individual bulb package.

Step 3

Growing

Bulbs benefit from potassium-rich bone meal at planting time. If you have some Complete Organic 4-4-4 Fertilizer, that will also help bulbs grow into strong flowering plants. Once growth starts in the spring and leaves begin to emerge, you have the option of top dressing (scattering on the surface of the soil) with a Complete Organic Fertilizer. This is a particularly good step if you plan on leaving the bulbs in the ground for the long term.

Step 4

Lifting Bulbs

Most summer flowering bulbs are tender. Once foliage dries up in the Fall or is killed by frost, but before the ground freezes, bulbs should be lifted and stored.

To lift bulbs, use a garden fork to gently loosen the soil. Your soil may have become quite packed down over summer, so take care when lifting. Try to dig down to the bulb itself, rather than pulling it up by its tender stem. The stem will tell you where each bulb is, so it’s important not to break the stem from the bulb.

Step 5

Storage

At this stage, allow some time for your harvested bulbs to dry out by leaving them out in a cool, airy place out of direct sunlight before storage. Bulbs can be labeled (by type or colour) and stored in peat, vermiculite or sand in a dry and dark area.

Customer Reviews & Questions