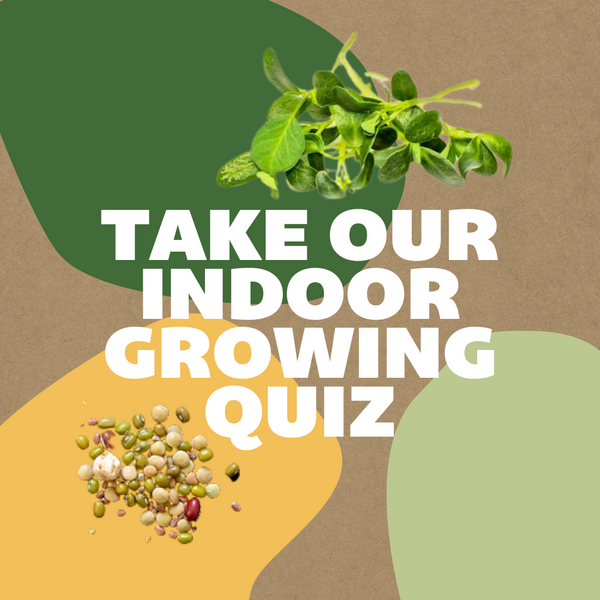


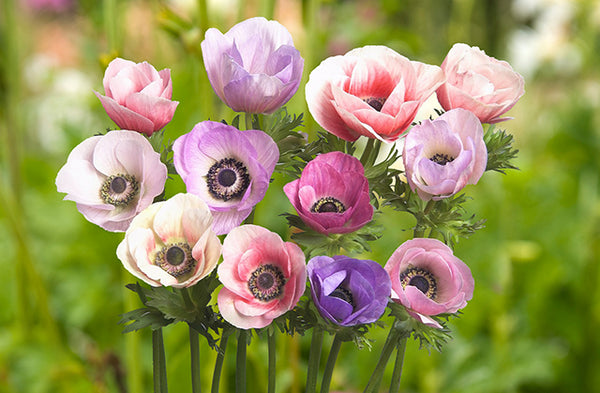
Use this page to learn how to grow garlic. Garlic is a very economical crop to grow because it takes up very little space. Once it is harvested it keeps for months. And then some of the harvest can be saved for planting again in the fall. One small 4 x 8 foot bed can produce enough garlic to keep you going right through the winter from a late July harvest. The trick is spacing, timing, and curing.
Latin
Allium ophioscorodon & A. sativum
Family: Alliaceae
Season & Zone
Season: Cool season
Exposure: Full sun
Zone: 4
Timing
Sow cloves September through November for harvest the following July. A good rule of thumb for planting is to aim to plant your garlic after your first frost but about 2-4 weeks before your ground freezes. This overwintering technique is the most reliable for gardeners down to Zone 4, and works well on the coast. Garlic can also be planted during a brief window at the beginning of March in coastal gardens, but may take longer to mature and may not form as complete a bulb.
Starting
Separate the cloves and set each one, pointed end up, 10-15cm (4-6″) apart and with the tip of the clove 2-5cm (1-2″) deep in rich, well drained soil. Don’t skin the clove! Use deeper planting if rains or frost may expose the cloves, and shallower planting if using mulch or planting into heavy soil. Largest cloves will make largest bulbs. Some growers recommend planting the cloves 4 to 6 inches deep, as garlic likes moisture. In good soils, this should result in fatter, larger bulbs.
Growing
Rich, well-drained soil. Dig well, add compost (lots of it if your soil is heavy) and do not compact it by stepping on it. Fertilize when spring growth starts. Water as needed and keep weeded. If your soil pH is below 5.5, the addition of wood ash or dolomite lime might help. In early summer, garlic sends up a flower stalk known as a “scape.” Hardneck garlic scapes will curl around at the top, and should be removed just as the curl starts. You’ll know it when this happens. Just cut them at the top of the stem. Garlic scapes are tasty and edible, and can be sautéed or made into pesto. Removing the flower before it opens is thought to keep more of the plant’s saved energy in its bulb.
Harvest
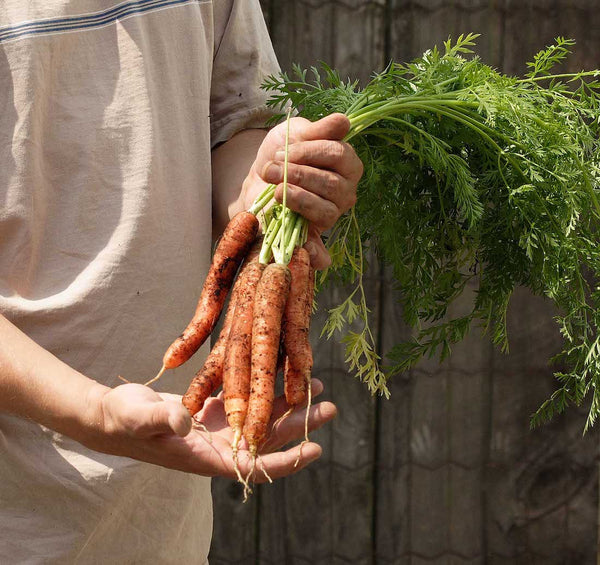
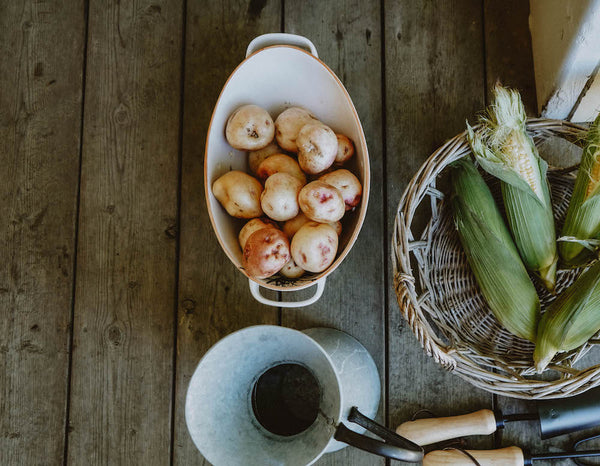
Garlic usually matures between the early to mid-summer. When the tops begin to dry, pull and air-dry like onions. Harvest when ½-¾ of the leaves have turned yellow (depending on variety). Try to avoid puncturing the bulbs when digging them out. Cure the bulbs in a single layer in a warm spot for 1 week to 10 days. Clean the bulbs by peeling off outer muddy layers. Cut off the stems and leaves of the hardneck varieties, but leave the leaves on the softneck to use for braiding or hanging. Store in a cool, dry, well-ventilated space. Do not store garlic in the refrigerator, as this will induce sprouting, changing the garlic’s texture and flavour. Use any damaged bulbs first, store the best. Set aside your best bulbs for planting in the fall.
Diseases & Pests
Many growers and home gardeners have been hit with White Rot that causes black spots and decay on the bulbs. It is spread in infected soil and water and is very persistent in the soil. Flooding the bed for 4 weeks in the spring may kill it. Best way to avoid it is not to leave decaying alliums in the ground and by using a strict 4 year rotation.
Companion Planting
Planting garlic near roses will help to repel aphids. Because of its sulfur compounds, it may also help repel whiteflies, Japanese beetles, root maggots, carrot rust fly, and other pests. Garlic, made into a tea, or spray, will act as a systemic pesticide, drawing up into the cells of the plants. It’s a good companion for beets, Brassicas, celery, lettuce, potatoes, strawberries, and tomatoes. Avoid planting it near peas or beans of any kind.
More on Companion Planting.