


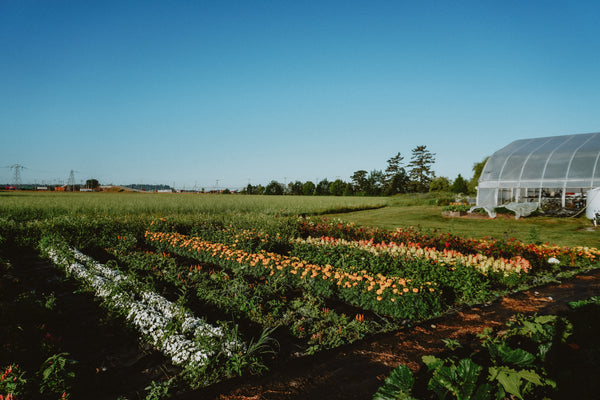


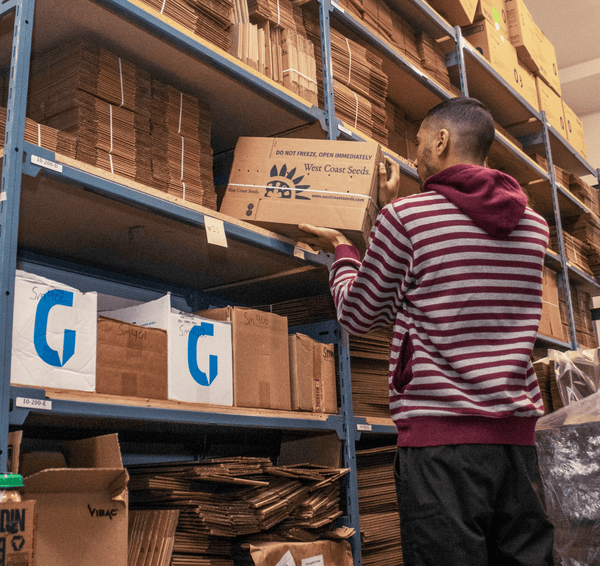


As we approach a new growing season, we begin with the inevitable anticipation of how and what we are going to start in the garden. Here at the farm, we start roughly 20,000 seeds every year. About half of those being sold for charity at our annual Seedling Sale, and the other half of them being for the trials we grow out for AAS (All American Selections) and our various seed suppliers. We need to be very careful how we execute our seed starting plans to ensure enough time management and spacing for the many varieties.
Getting Started:
I start my process of seed selection with the mindfulness of my intention for the season ahead; my goals and aspirations. This can look anything like: “I’m hoping to have a healthy and bountiful/highly productive crop this year,” or “I’m hoping to experiment with a new method or variety and learn something new.” One of my most consistent intentions in the garden space is manageability. I say this because it is so common for us to jump into the hype of a new season and get into an overwhelming state before we have even gotten started. Like many of us, I too have had the experience halfway through the year where I feel like I’ve bitten off more than I can chew with garden expectations and responsibilities, and found myself in a classic state of “gardener’s burnout.”
This can look like starting more seeds than we know how to deal with or have space for, or we can find ourselves overrun with more garden tasks and maintenance than we have time for. It's easy to get discouraged and anxious with these experiences, which can take away from our joy in the garden — the very reason that most of us enter the restorative garden world in the first place.
That is why my first consideration in seed starting is intention.
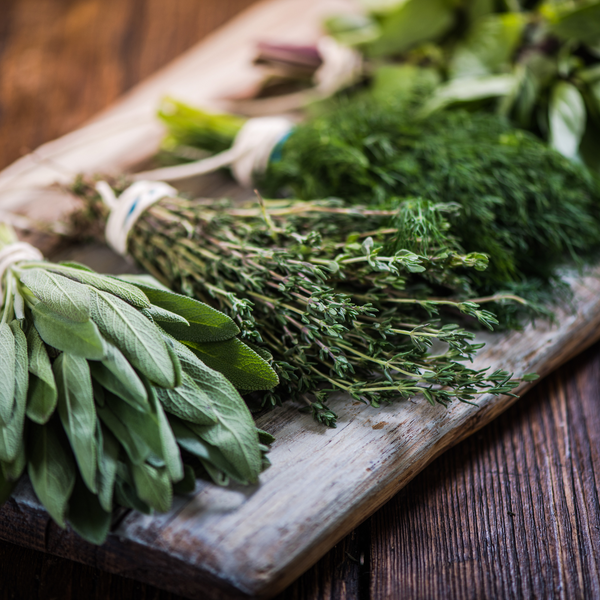
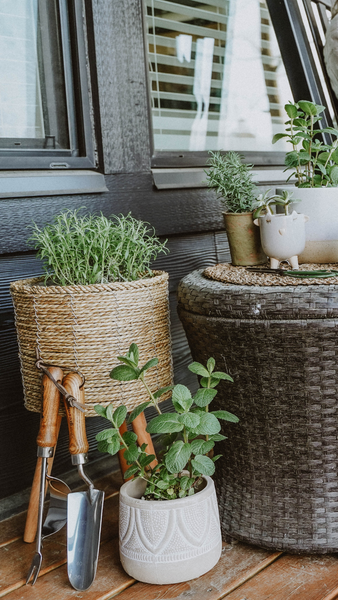
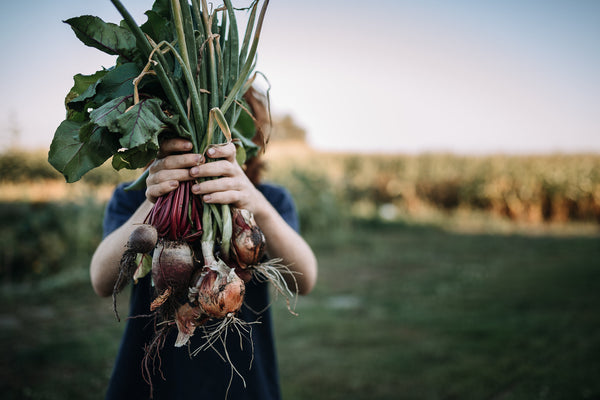
Be realistic with yourself and keep in mind that there is always the next growing season to try that other list of varieties you are excited for. We can always add to the garden later in the season, with succession plantings, if we find we end up having the space in our schedules to do so. It's best to start simply and successfully. Work with the space you have, whether it be containers, garden beds, or a field. What is your garden’s purpose? You can have a few possibilities here. Inviting and encouraging pollinators, companion planting, cut flowers, home herb harvests, maybe a veggie wonderland? What elements are most important to us?
Make lists. List your favourite and most consistent crops, also list the ones you still want to try.
Make a plan for the garden space, what is going where and why? What considerations are you taking into account as you go about your seed selection process? What space are you starting your seeds in? What needs will your plant babies have? Full sun? Shade?
Getting Dirty:
Most seeds prefer a consistent temperature of 20°C to germinate well. Some require or suggest cold stratification prior to germination, such as strawberry seeds, so quickly check your seed packet to see what your seed starts need ahead of time.
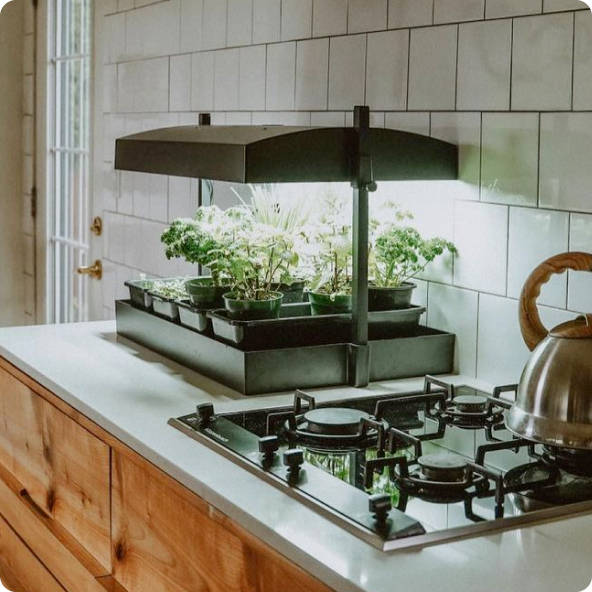
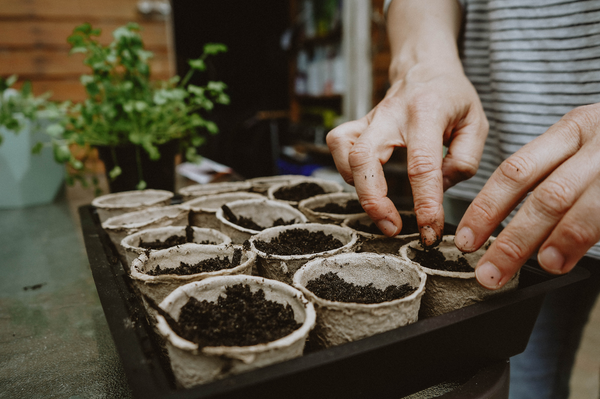
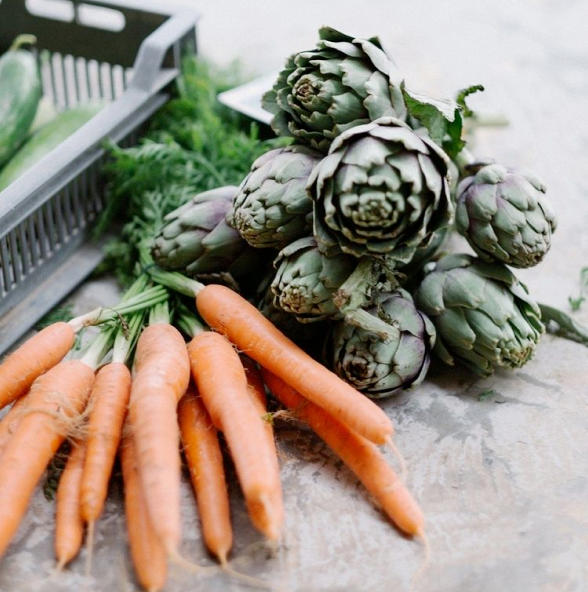
What equipment are you going to need this season? There are a few options out there from plastic trays with cells to soil blockers, or just direct sowing into the garden. On the farm, we currently use 128 and 72 plastic reusable cell trays for all our starts, other than root vegetables which we direct sow into the field or beds.
After deciding the seed selections for the season, we then go and organize the starts by the month in which we need to start them. We begin the seeding process by wetting down the soil in our stations due to soil being naturally hydrophobic, meaning the soil will become dense and repel the water on the surface as to not saturate the area. Once trays are filled with necessary soil, we place 1–3 seeds per cell to ensure as high of a germination rate as possible. Don’t forget to tag or label your crop! It can also be helpful to add the date you started them to the tag or in a logbook.
We place the started trays on a heat mat inside our heated greenhouse after we water the tray down, being careful not to displace the seeds. It’s important to keep the seed trays moist as they can dry out quickly and also dry out the seed in the process.
Everything takes a different amount of time to germinate, so do check your seed packets or search online to get an idea of how long it will take to see those first leaves pop through the soil.
Then we wait for the magic to happen with a patient eye!
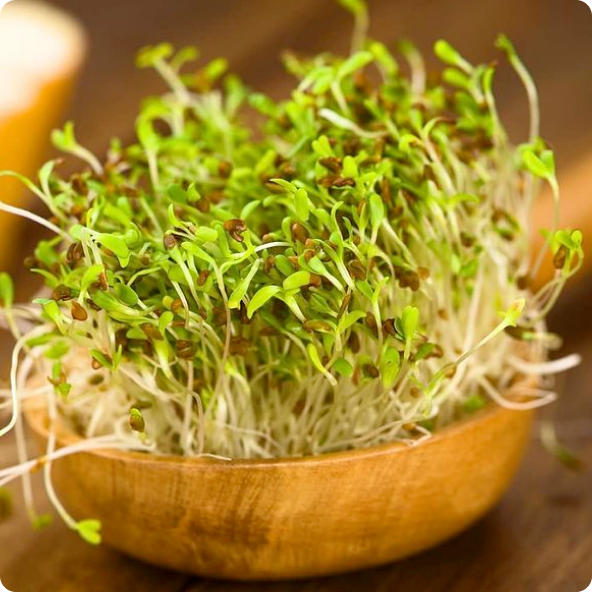
Once germinated, we remove the trays from the heat mats and place them on a shelf in the greenhouse where they will stay until the seedlings reach about 2–3” in height. From that state on, they will either be directly planted into the garden space or transplanted into a 3–4" pot until ready to get “hardened-off” (when plants are gradually trained for the outside elements).
There is no other more magical time of the gardening season than watching those tiny seed babies emerging from the soil!
Follow Mandy @westcoastseedsfarming on Instagram