


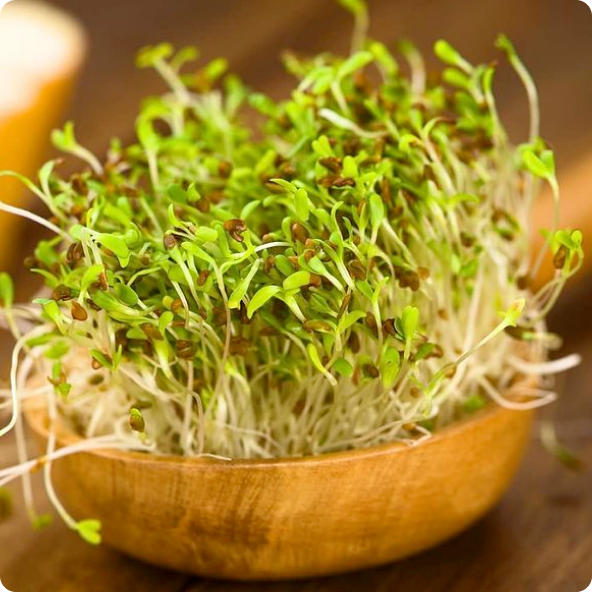
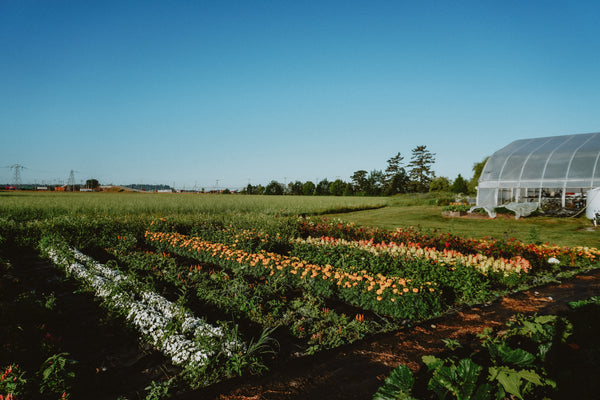


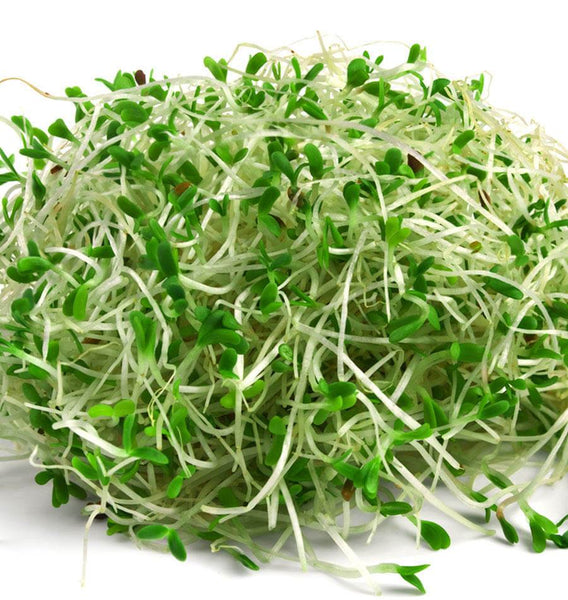
Some of the quickest and easiest food crops you can grow at home are microgreens. With a few simple steps, anyone with limited space or gardening knowledge can be rewarded with the variety of flavours, colours, and textures that microgreens provide. Some are spicy. Some are nutty. Some are purple or pink. Salads, sandwiches, soups, or smoothies can be enhanced with one or more varieties. Growing them is also fun and cost effective.
Download a digital version of our Indoor Growing Guide to reference when you're choosing seeds and growing microgreens.
A wide range of plants can be grown as microgreens, such as broccoli, radish, herbs, even sunflowers. Any plant that we eat the leaves or stems of can be easily grown as a microgreen. They’re harvested when they reach a few inches tall and have developed their first set of leaves. They can be grown at any time of year, and there’s no need for outdoor space or fertilizer. All you need are seeds, a container, a small amount of soil, and some light.
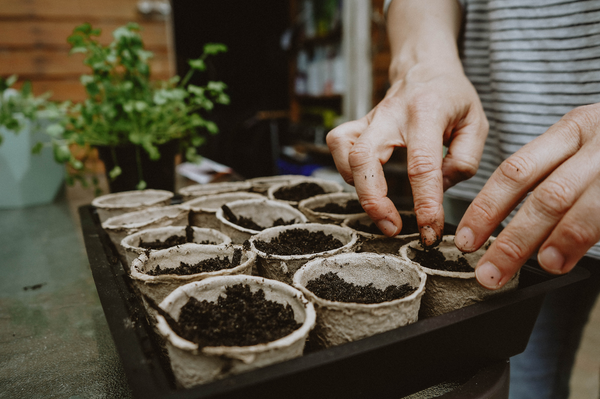
Step 1 – Choose your container.
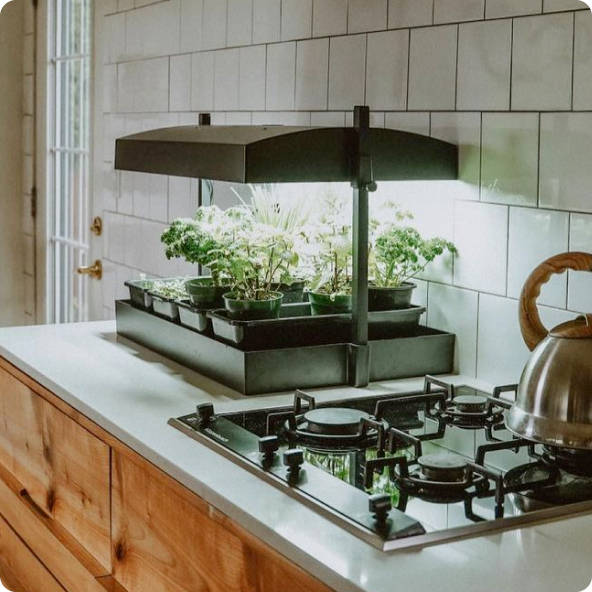
A container that is shallow and wide is ideal. This can be as simple as a take-out tray on your kitchen counter, or it can be a complete growing kit that includes a tray, a dome to trap warmth and humidity, and lights. Just make sure whatever you use has drainage holes in the bottom, so it doesn’t hold too much water. If you enjoy microgreens a couple times a week, keep your container small. If you add them to your meals often or just like lots of variety, you may want to dedicate more space for larger trays and equipment.
Step 2 – Sow your seeds.
You can use any sterile potting mix in your container. You don’t need much; an inch is fine for almost any seed. Another less messy option is a biodegradable hemp Terrafibre mat. These come in different sizes and can be trimmed to fit your container. You can even use a few layers of paper towels!
Larger seeds, such as peas, will benefit from 12 hours of soaking before sowing.
Dampen your soil or growing mat with water, then scatter seeds on the surface. You’ll want to sow your seeds densely in an even layer. There’s no need to leave any growing space since they will be harvested shortly after germinating. It’s best to cover your seeds with plastic wrap or a dome to keep them from drying out.
Step 3 – Provide darkness.
Your seeds don’t need any light until after they’ve germinated. When kept in the dark, seedlings will “stretch” looking for light. This can be helpful for shorter seedlings, such as arugula, as it makes them easier to harvest. Just don’t stretch any seedlings so much that they start falling over. A lot of warm light can also dry out your soil if it isn’t tightly covered. To keep light out, you can either cover your tray with another tray, or put it in a cupboard for a few days. Check it occasionally and re-dampen your soil or mat if it gets too dry. Aim for about 3–4 days of darkness. This is sometimes referred to as a “blackout period.”
Step 4 – Provide light.
Once your seeds have germinated and are a few centimetres tall, take them out of the dark and give them as much light as possible. This will stop the stretching and green up the leaves.
Light can either come from a bright sunny window, or it can be supplemented with full spectrum bulbs. A small tabletop lamp with a screw-in plant bulb may be sufficient for a small tray. The larger the tray, the more light you will need. When it comes to growing any plant indoors, the more light you provide, the better off your plants will be. Keep your light bulbs close to but not touching the leaves. If your seedlings are yellow, they need more light. Yellow leaves aren’t tasty or nutritious.
Step 5 – Harvest your crop.
Once your first leaves open and green up, you’re ready to harvest and eat your microgreens. Simply cut the base of the stems with scissors. Large seedlings that started beneath your soil may need to be rinsed. Your harvested greens can be refrigerated for up to a week.
Other tips:
Keep your soil or mat moist throughout the growing cycle. Seedlings can dry out quickly, especially with very little soil.
Always use fresh soil or mats and discard or compost your previous harvest’s soil and roots.
Keep a rotation of greens growing by starting new seeds at least once a week. Try new varieties and dishes each week to see what you like the best!
Katie Joya, Retail Partner Representative, West Coast Seeds.