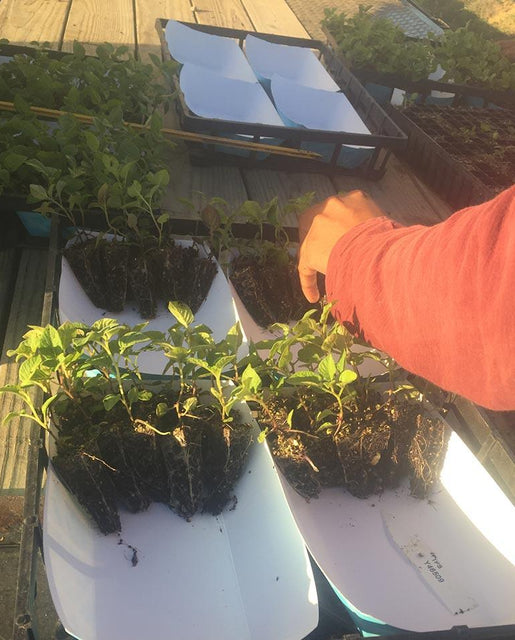
Clancy Pelleted

SKU: PT624
Clancy potato seeds represent a novel new way to produce beautiful, nutritious spuds. Fancy Clancy potatoes are a beautiful natural mix of red and rose-gold creamer-size spuds that are ready to harvest 110 days from transplant. Read More

Exposure Full-sun

Matures in 110 days

Season Cool season

Seed type F1 ?

Clancy Pelleted has a rating of 4.5 stars based on 4 reviews.
Click here for more options
*Please note, this product cannot be shipped to the USA.
See our FAQs for more info.
Shipping & Returns

West Coast Seeds ships anywhere in North America. However, we are not able to ship garlic, potatoes, asparagus crowns, bulbs, onion sets, Mason bee cocoons, or nematodes outside of Canada. We regret, we cannot accept returns or damages for orders outside of Canada. The minimum shipping charge to the US is $9.99.

Clancy Pelleted

Product Details

Mid-season. Clancy potato seeds represent a novel new way to produce beautiful, nutritious spuds. Fancy Clancy potatoes are a beautiful natural mix of red and rose-gold creamer-size spuds that are ready to harvest 110 days from transplant. Seed is sown just like a tomato or pepper, for transplant into the garden. Once vigorous summer growth starts, just hill up and water like a regular potato plant and look forward to pounds of delicious potatoes. The seeds are pelleted for easy handling.

110 days to maturity. (Hybrid seeds.)

Quick Facts:

    • Available for the first time
    • Matures in 110 days from transplant
    • Hybrid seeds

We'll notify you when this product is back in stock.


Clancy Pelleted

We don't share your information with others.

Your notification has been registered.  Click to close!

All About Clancy Pelleted

Latin

Latin
Solanum tuberosum
Family: Solanaceae

Difficulty

Difficulty
Moderately easy

Season & Zone

Season & Zone
Season: Cool season
Exposure: Full-sun

Timing

Timing
Six weeks before date of last frost/desired transplant date sow seed ¼” deep in plug trays or maximum 2” pots with nutrient-free soil media (pH 5–7). Larger containers take longer to fill with roots and plants can start to produce tubers before transplant, which is not desirable. Maintain constant 21°C (70°F)  without bottom heat, water so media remains evenly moist, and provide sufficient light for 12 hour days. Once all seeds have germinated (in 10–14 days), the plants can be moved to a cooler (above freezing) area and foliar or liquid fertilizer applied. Gradually harden off over one week before transplant.

Transplanting

Transplanting

Plants are ready for transplant when they are ~5cm (~2”) tall. If transplant is delayed, consider potting up to a larger size to avoid stressing the plants and beginning tuber formation. Plant in a hill, flat top bed or trench (whatever is common for potatoes in your area) so only the top whorl of leaves ~2.5cm (~1”) is above the soil surface. If planning to harvest small potatoes, use 20cm (8”) within and between rows, for larger potatoes 30cm (12”) within and 75cm (30”) between rows as a starting point and adjust based on experience.

Growing

Growing
Treat like regular potatoes grown from tubers. Nutrient uptake increases steadily as tubers form and enlarge. Look to foliar symptoms for fertility issues, nitrogen and potassium are important macro-nutrients and can be added, along with other fertilizer, during hilling as needed. Water in well to establish transplants and maintain soil moisture throughout the season. The soil surface should dry between watering, but moisture should be maintained in the soil profile.

Hilling

Hilling
When plants are 10-15cm (4–6”) tall soil can be hilled up around the base of the plant to cover the bottom 2/3. Hilling can be repeated 2–3 times as needed to keep down weeds and cover tubers. 

Harvest

Harvest
Potatoes should be ready for harvest 70 – 120 days after transplant, depending on planting density, environment, and size desired. If potatoes are to be eaten fresh, whole plants can be dug and tubers removed. For long term storage the plants should be cut to the ground 10 days before digging and tubers stored in a cool 5°C (40°F), dark place with high humidity after harvest.

Seed Info

Seed Info
In optimal conditions, at least 75% of the seeds will germinate. Usual seed life: 3 years. Per 100′ row: 200 seeds, per acre: 8.8M seeds.

Diseases & Pests

Diseases & Pests
Protect from cabbage moths and other insect pests with floating row cover. Prevent disease with a strict 4-year crop rotation, avoiding planting Brassicas in the same spot more than once every four years.

Companion Planting

Companion Planting
A worthy companion for beets, Brassicas, cucumbers, and onions. Avoid planting near peppers, pole beans, strawberries, and tomatoes.

More on Companion Planting.

How to Grow Potatoes

Step 1

Timing

Potatoes are tolerant of cool soils and moderate frosts. Minimum soil temperature at planting time should be 6°C (43°F). Plants will emerge about 2-3 weeks after planting.

Step 2

Starting

Set tubers approximately 7-10cm (3-4″) deep, and 30cm (12″) apart in prepared trenches spaced 60cm (24″) apart.

Step 3

Growing

Ideal pH: 5.5-6.5.

Well-drained, loamy soil rich in organic matter is preferred, but potatoes are not overly fussy. If heavy clay or clay/loam soils are used, double-digging and improving organic matter content by growing cover crops or adding compost or manure can correct drainage problems. Do not lime areas planned for potatoes. When the above-ground portion of the plant is 30cm (12″) tall, “hill up” soil 15cm (6″) around the plants. It’s okay to cover green leaves. Straw or grass mulch also works well. This process can be repeated up two or three times. It is recommended that no irrigation take place between planting and sprout emergence in order to avoid disease. It is important, though, not to let the soil become too dry, and to irrigate while plants are flowering.

Step 4

Harvest

“New” potatoes can be harvested about 7-8 weeks after planting. Potatoes grown for late summer and fall “fresh” use can be dug when tubers are full size or when foliage begins to die. For potatoes grown for storage and winter use, harvest should take place after vines have died back, alternatively, the plants may have to be cut or mown. After killing and removing the plants, tubers should stay in the ground for another 2 weeks to allow firming of their skins for storage. Optimum storage conditions are a dark location 4-7º C (40-45ºF) and 90% relative humidity. Paper sacks stored in a garage will suffice. Check them often though to remove any that are starting to go soft.

Tips

Diseases & Pests

Late blight ( Phytopthera infestans) is problematic, especially on the Coast. Symptoms appear as water-soaked gray spots on tips and margins of leaves, leaf axils, and on stems. Even if nothing shows on the leaves, late blight makes black spots under the skin of the tuber. Left unchecked, it will destroy the plant. Copper spray is effective if applied regularly through the growing season, including drenching the soil. The most important step to avoiding disease is to establish a vigorous and healthy crop; this can be accomplished by using disease free seed, planting in rich soil, avoiding pre-emergence irrigation and watering carefully once the crop emerges.

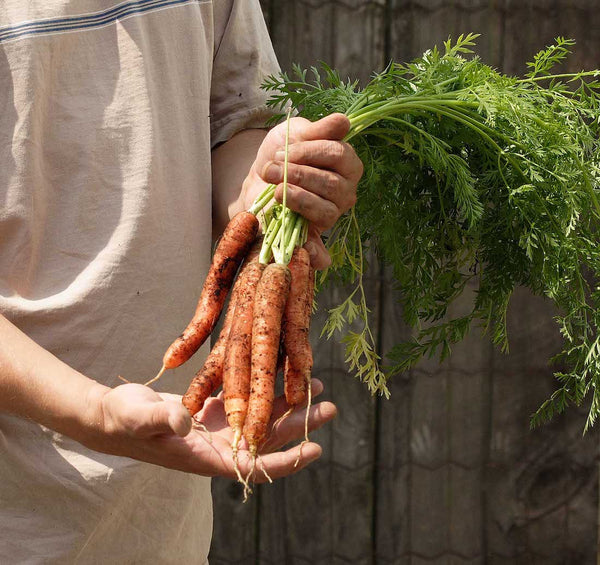
The most common pests to bother your potatoes on the coast are wireworms (especially in gardens recently taken out of grass).

Wireworms are the larvae form of a very slender black beetle known as the Click Beetle because if you turn one over, when it goes to right itself, it makes a “Click!” sound. The beetle lays its eggs in grass, and the larvae eat in our gardens. They burrow into the roots, seeds, and underground stems of tomatoes, corn, potatoes, peppers, and squash. The damage is worse on land that has been recently been converted from lawn to garden. The larvae themselves are crisp, golden, up to 1cm long and can live for up to 7 years in the soil.

If your seeds don’t appear to sprout, or the plants wilt and die suddenly, your soil may have wireworms. An irregular pattern of plants dying in a field is typical of wireworm damage. To find out if you have wireworms before you start planting, create bait made of carrot and potato pieces. Bury the bait in 10cm of soil, and mark it with a stick. Dig it up in 3 or 4 days. If there are more than 1 or 2 wireworms per bait, you have a problem. They are difficult to control but regular cultivation of the top 10cm of the soil, as well as trapping them on pieces of potato, and crop rotation will slow the damage. Digging in an overwintered Cole crop can also be effective. Predatory nematodes work also.

Companion Planting

Bush beans, Brassicas, carrots, celery, corn, garlic, marigolds, onions, and peas all do well planted near potatoes. Avoid planting potatoes near asparagus, cucumber, kohlrabi, melons, parsnips, rutabaga, squash, sunflower, and turnips.

Customer Reviews & Questions